
Posted on Monday, March 14, 2022 by Sune Dupont
Top four tips for verifying a leak in your supply area
Get the knowledge to verify every potential leak with superior accuracy and precision.
Thanks to the technological advances that have allowed us to develop smart meters with in-built acoustic leak detection technology, we’re now able to provide utilities with the tools to make leak detection faster, easier, and more efficient. When innovative smart water meters are installed in your supply area, acoustic leak detection technology and innovative software systems give you the power to visualise and filter noise data, which makes it easier to identify high risk installations.
In fact, our software, Leak Detector, has the ability to alert you to the most “interesting” meters in your supply area. This means you can see the meters that have picked up irregular noise levels that represent the highest risk of leakages. With such advanced technology, utilities can now react to leakages much faster and more accurately, which saves time, resources, and most importantly, water!
Despite all the huge benefits that advanced acoustic leak detection technology can provide, you still need to go out to your supply area to verify the leaks you have identified through the software. This can be challenging as it isn’t always clear how best to approach the verification process. Where should you begin your investigation? What tools should you use? How do you get the most accurate result?
If these questions sound familiar, then you’re in the right place. Read on to discover our top four tips for verifying a leak in your supply area.
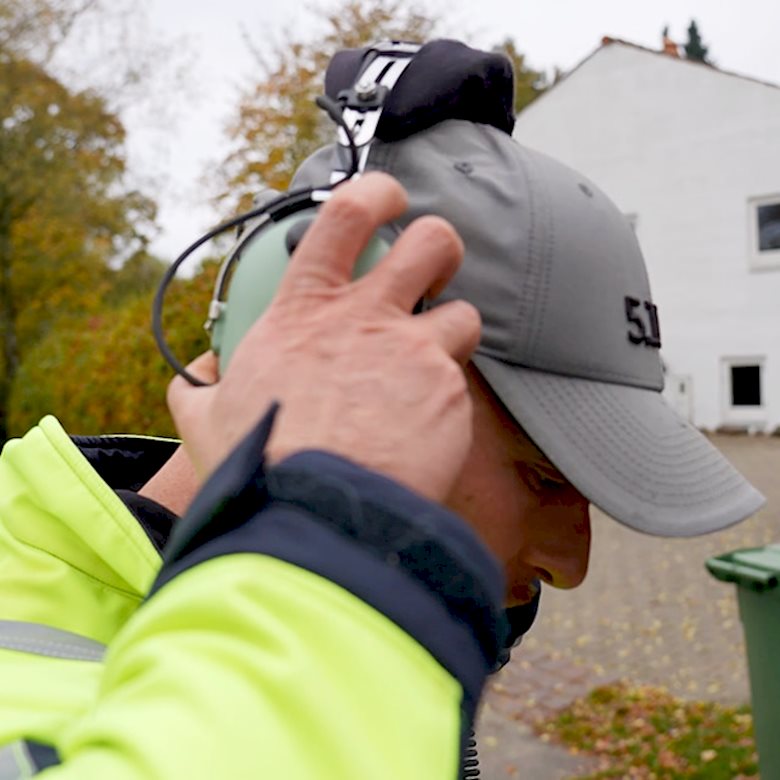
1. Where to start your noise investigation
There are many places where you can start your noise investigation, but not all will give you the best results.
A good way to start is often using a listening stick to listen for leak noise at the curb stop. However, this can be tricky when verifying noise picked up by the water meter, since the meter is often located at a distance from the curb stop. Therefore, you cannot always hear noise picked up by the meter from this location as there can be many noise barriers and possibly a long attenuation path that make it difficult to hear a potential leak.
If the noise source cannot be heard at the stop valve, your investigation should take place as close to the water meter as possible –– an outside water tap is a good place to start because its pipes are usually connected to the water meter, however, going directly to the installation is best.
2. Creating the ideal conditions for leak verification
It’s common for meters to be installed inside houses, and this means they’re often located near ambient noise sources. Any surrounding noise can potentially interfere with leak verification and give erroneous readings. As a result, it’s essential that you check for systems and appliances that can create noise. Keep in mind the following checklist to create the ideal conditions for leak verification:
- Turn off pumps
- Close the supply of district heating
- Make sure that appliances such as dishwashers, washing machines, or similar are turned off
3. Verifying the leak
Once you have found the ideal place to start your investigation and checked for any ambient noise sources, you must get as close to the meter as possible and use a listening stick to begin the leak verification process.
After reviewing any potential noise with a listening stick, you may suspect a leak. To verify the leak, close the service connection valve and check whether noise is still present. If not, you can expect the leak to be in the connection pipe between the Curb stop and the meter.
4. The ultimate verification test
Using a listening stick is an excellent method of leak verification, but it isn’t guaranteed to provide you with a completely accurate result; errors can still occur.
For complete peace of mind, it’s possible to use a temporary pressure meter to verify a leak. This method can give you more control and accuracy during the verification process.
- Replace the water meter with a temporary pressure meter
- Open the stop valve to see the level of pressure
- Close the stop valve and check for a pressure drop
- If the pressure drops, then there is usually a leak
It’s important to note that this last step requires a fully working Curb stop.